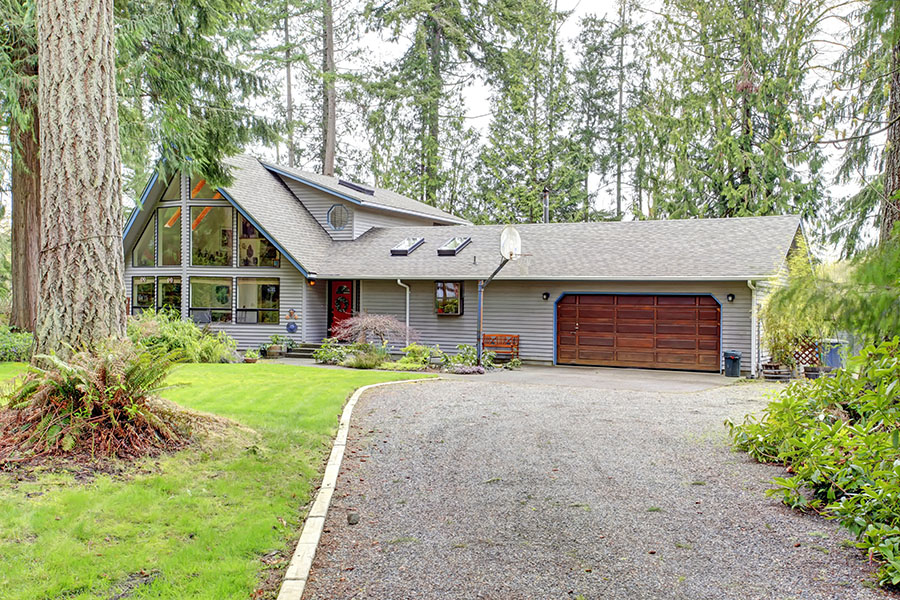
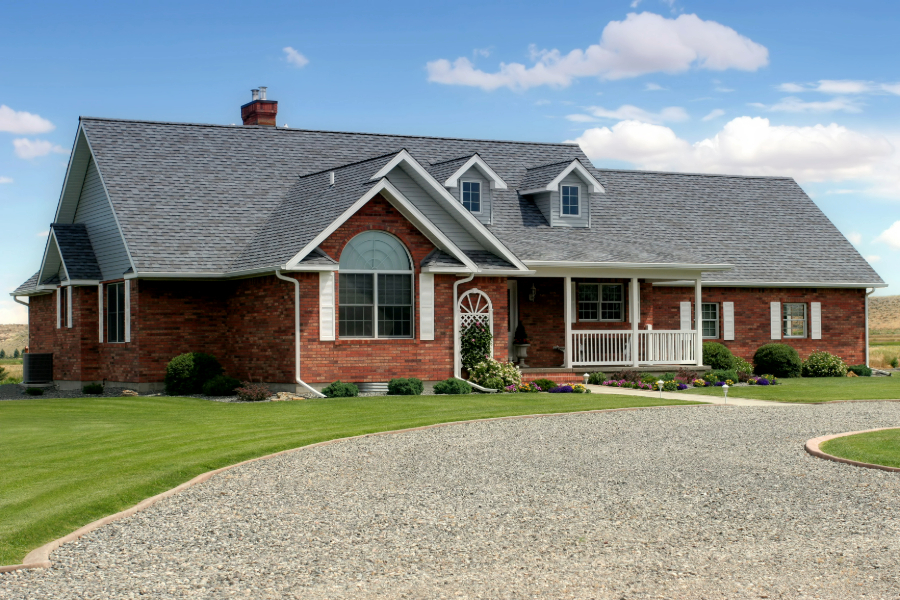
Creating a DIY gravel driveway is an excellent way to enhance your property’s curb appeal while providing a durable, functional surface. A well-designed gravel driveway can complement your home’s aesthetics and provide a stable surface for vehicles. This comprehensive guide will walk you through the essential steps and considerations to plan and design your DIY gravel driveway, including how BaseCore™ Geocell and PaveCore products can help ensure a robust and long-lasting foundation.
Why Choose a Gravel Driveway?
Gravel driveways offer several benefits:
- Affordability: Gravel is generally cheaper than asphalt or concrete.
- Ease of Installation: Gravel driveways are relatively easy to install compared to other materials.
- Versatility: Gravel driveways can be customized to fit various styles and sizes.
- Low Maintenance: With the right planning and installation, gravel driveways require minimal upkeep.
Product Selection Guide
Choosing the right system for your gravel driveway can save you time and money in the long run. Here’s a straightforward guide to help you pick the best option for your needs.
Traditional Gravel Driveway
- System Best for:
- Temporary driveways
- Very low traffic areas
- Projects with minimal budget What to expect:
- Highest maintenance needs
- Regular regrading required
- Most gravel migration
- Lowest upfront cost
BaseCore Geocell Gravel Grid
System Best for:
- Permanent residential driveways
- Areas with drainage concerns
- Sloped driveways
note: Choose 3″ HD panels when:
- You have normal residential traffic
- You get occasional delivery trucks
- You want the most cost-effective option
note: Choose 4″ HD panels when:
- You expect heavy trucks regularly
- You have commercial vehicles visiting
- You live on a farm or ranch with equipment traffic
PaveCore Gravel and Grass Grid
System Best for:
- Areas needing a smoother finish
- Wheelchair accessibility
- Circular driveways
- Parking areas
- Grass driveways or parking pads
What to expect:
- 2″ panel height
- Easy snap-together installation
- Excellent gravel retention
- Ideal for decorative gravel
Quick Decision Guide
If you want minimal maintenance:
- Choose BaseCore or PaveCore
- Expect 50-60% less gravel needed
- Higher upfront cost, but lower 10-year cost
If you’re on a tight budget:
- Start with traditional gravel
- Add geotextile fabric at minimum
- Plan for more frequent maintenance
- Consider upgrading to BaseCore or PaveCore later
If you need heavy vehicle support:
- Go with BaseCore 4″ HD
- Use angular crushed stone
- Expect best long-term performance
Remember: All systems require a good non-woven geotextile fabric underneath. This small extra cost protects your investment and improves drainage, regardless of which system you choose.

Step-by-Step Guide to Planning and Designing Your Gravel Driveway
1. Planning Your Driveway
Before you start digging, careful planning is crucial. Here’s how to approach it:
a. Determine the Location and Size
- Location: Choose a location that will provide easy access to your property while considering existing features like landscaping, trees, and utility lines.
- Size: Measure the area where you plan to install the driveway. Ensure it’s wide and long enough to accommodate the type of vehicles that will use it.
b. Assess the Drainage
Proper drainage is vital to prevent water pooling and erosion. Ensure that the driveway slopes away from structures and toward appropriate drainage areas. Incorporating BaseCore™ Geocell products can help with drainage by allowing water to pass through and reducing the need for additional drainage systems.
2. Design Considerations
When planning your gravel driveway, you’ll need to choose between a traditional gravel-only design or a reinforced system that can save you money over time. Let’s look at your options.
Traditional Gravel Design
A basic gravel driveway typically needs a thick layer of stone – usually 8-12 inches deep – to stay stable. While this is the simplest approach, it often leads to ongoing maintenance as the gravel shifts and forms ruts over time. You’ll likely need to add new gravel and regrade every year or two.
Modern Reinforced Options
You can greatly reduce these maintenance headaches by using a reinforcement system under your gravel. Products like BaseCore Geocell (think of it like a honeycomb that holds your gravel in place) or PaveCore grid systems can cut your gravel needs in half while making your driveway last longer. These systems might cost more upfront but typically pay for themselves within 2-3 years through reduced maintenance. Additional gravel stabilizers improve drainage and stabilization , removing the threat of ruts.
Choosing Your Gravel
Whatever foundation you choose, you’ll want the right type of gravel:
- Base layer: Choose angular crushed stone (3/4″ to 1-1/2″) for a strong foundation
- Top layer: Smaller gravel (3/8″ to 3/4″) for a smooth driving surface
- Avoid round stones like pea gravel – they tend to shift and roll around
Planning Your Layout
- Think about how you’ll use your driveway:
- Consider where snow will be pushed in winter
- Allow enough width for cars to pass (at least 10 feet for a single lane)
- Plan for any curves or parking areas
- Make sure water can drain off the edges. With geocells like BaseCore, water drainage is directed to the edges by its design.
3. Prepare the Site
a. Clear the Area
Remove grass, weeds, and debris from the planned driveway area. Use a shovel, rake, and possibly a sod cutter for larger areas.
b. Excavate the Driveway
Dig out the area to a depth that will accommodate the gravel and a base layer. Typically, you should dig 4-6 inches deep, depending on the thickness of the gravel and base material you plan to use.
4. Install the Base Layer
Creating a strong foundation is the most important part of your driveway project. Whether you’re using traditional gravel, BaseCore, or PaveCore, you’ll need to start with the same crucial first step – installing a thick non-woven geotextile fabric. This fabric goes directly on your prepared soil and acts like a filter, keeping your base materials from mixing with the soil below.
If Using Traditional Gravel:
After laying your geotextile fabric, add your base gravel in 4-inch layers, compacting each layer before adding the next. You’ll need at least 8-12 inches total depth for a stable foundation.
If Using BaseCore Geocell:
- Lay your geotextile fabric first
- Roll out the BaseCore panels (they look like honeycomb when expanded)
- Connect the panels using BaseClips at each cell intersection
- For most homes, choose the 3″ HD panels – they’re perfect for cars, SUVs, and occasional delivery trucks
- If you get frequent heavy deliveries or expect large trucks (like water trucks or semis), go with the 4″ HD panels instead
- Fill cells with angular gravel and compact
If Using PaveCore:
- Start with your geotextile fabric
- Lay out the PaveCore grid panels – they’re about 2″ tall and snap together easily
- No clips needed – just connect the panels using their built-in locking system
- Fill with specified gravel and compact
The big advantage of BaseCore and PaveCore systems is that they need much less gravel than traditional installation. While they cost more upfront, you’ll save money on materials right away and on maintenance down the road.
5. Add the Gravel
a. Choose the Right Gravel Depth
Apply an angular gravel inside the BaseCore™ Geocell base. Typically, the 3-4 inch tall BaseCore geocell is sufficient, but this can vary based on the topography and expected traffic.
b. Spread and Compact the Gravel
Use a rake or front loader to spread the gravel evenly across the driveway. A plate compactor or roller can be used to compress the gravel, ensuring a stable and level surface. This step is crucial for reducing shifting and creating a smooth driving surface.
6. Finishing Touches
a. Create Edging
Install edging along the sides of the driveway to keep the gravel contained and prevent spreading. This can be done with landscape timbers, corten steel edging, or other materials that suit your design.
b. Ensure Proper Drainage
Double-check that the driveway slopes away from structures and that water will drain properly. The perforations in BaseCore™ Geocell panels help with natural drainage and prevent pooling.
Maintenance Tips: How to Care for Your Gravel Driveway
How much maintenance your gravel driveway needs depends on how you built it. Let’s look at what to expect with different systems.
Traditional Gravel Driveway Maintenance
Without reinforcement, expect regular maintenance:
- Rake gravel back into place every 1-2 months
- Add new gravel yearly (about 1-2 tons per 1,000 square feet)
- Regrade with heavy equipment every 2-3 years
- Fix potholes and ruts after heavy rains
- Clear drainage paths regularly to prevent washouts
- Expect higher maintenance costs in areas with frequent rain or snow plowing
Reinforced Driveway Maintenance (BaseCore or PaveCore)
These systems dramatically reduce maintenance needs:
- Almost no gravel migration thanks to the containment system
- Typically need raking only 1-2 times per year
- Add new gravel every 3-5 years (about 1/3 the amount of traditional systems)
- No regrading needed – the reinforcement keeps everything in place
- Virtually no potholes since water drains through the system
- Snow plows can’t catch and pull up gravel
Quick Maintenance Checks for Any System
Every few months, look for:
- Uneven areas that need leveling
- Spots where gravel seems thin
- Places where water pools after rain
- Weeds starting to grow
Pro Tip: If you haven’t built your driveway yet, the extra upfront cost of BaseCore or PaveCore typically pays for itself in about 2-3 years just from reduced maintenance costs. Plus, you’ll save countless hours of raking and repairs.
Frequently Asked Questions
1. What is BaseCore Geocell and how does it help with a gravel driveway?
BaseCore™ Geocell is a geocell panel designed to provide a stable and durable foundation for various applications, including gravel driveways. It helps distribute weight evenly, reduces shifting and erosion, and improves drainage by allowing water to pass through its perforated design. This ensures a long-lasting and low-maintenance driveway.
2. How do I install BaseCore Geocell for my gravel driveway?
To install BaseCore™ Geocell, first clear and excavate the area where the driveway will be. Lay the geocell panels over the excavated area, ensuring they are properly aligned. Trim and fit the panels as needed, then add a layer of gravel on top. Compact the gravel to create a stable and level surface. The installation is straightforward and can be done without advanced equipment.
3. What types of gravel are best for a driveway?
The best type of gravel depends on your preferences and the intended use of the driveway. Pea gravel is smooth and attractive but can shift easily. Crushed stone provides better stability and is less prone to shifting. River rock offers a natural look but may not be as stable as crushed stone. Choose a type that fits your design and functional needs.
4. How often should I maintain my gravel driveway?
Maintenance frequency depends on traffic and weather conditions. Regular raking to level the surface and replenishing gravel as needed should be done at least once a year. Additionally, check for and address any weeds or potholes promptly to keep your driveway in good condition.
5. Can I use recycled materials with BaseCore Geocell?
Yes, BaseCore™ Geocell allows for the use of recycled materials as infill. This can include recycled gravel or other aggregate materials, which helps reduce project costs and environmental impact. The geocell structure supports various infill materials, ensuring a strong and stable foundation.
6. How does BaseCore Geocell compare to traditional driveway materials?
BaseCore™ Geocell offers several advantages over traditional driveway materials like concrete, asphalt, and gravel alone. It is more cost-effective, requires less maintenance, provides better drainage, and has a quicker installation time. BaseCore™ Geocell also eliminates the need for heavy sub-bases and offers superior durability and strength.
7. What are the cost differences between traditional gravel and reinforced systems?
A traditional gravel driveway has a lower upfront cost of around $4-6 per square foot but requires significant annual maintenance of about $1-2 per square foot. In contrast, BaseCore and PaveCore systems cost more initially at $8-10 per square foot but need minimal maintenance, typically just $0.20-0.30 per square foot annually. When calculated over a 10-year period, traditional systems end up costing about 40% more due to ongoing maintenance and gravel replacement needs.
8. How quickly do reinforced systems pay for themselves?
Most homeowners find their BaseCore or PaveCore investment reaches the break-even point within 2-3 years through maintenance savings. This comes from needing less initial gravel, avoiding regular regrading services that can cost $500-1000 each time, requiring minimal gravel replenishment, and preventing expensive repairs from washouts or potholes. The exact payback period depends on your local material costs and weather conditions.
9. How much gravel do I save with reinforced systems?
A typical 1,000 square foot traditional gravel driveway requires 15-20 tons of gravel for installation, plus 2-3 tons of new gravel each year for maintenance. In comparison, a BaseCore or PaveCore system needs only 7-10 tons initially, with minor replenishment of about half a ton every 3-5 years. This reduction in material needs translates to immediate savings of $500-1000 on installation costs alone. What affects the return on investment (ROI)? Your specific return on investment depends on several key factors. Local gravel and delivery costs play a major role, as do weather conditions – areas with heavy rain or snow typically see faster payback. The slope of your driveway affects maintenance frequency, with steeper slopes benefiting more from reinforcement. Traffic volume and local contractor rates for maintenance services also impact your long-term savings.
10. Are there any hidden costs to consider?
With traditional gravel systems, you should factor in equipment rental for regular grading, frequent gravel delivery fees, potential repair costs from washouts, and the value of your time spent on regular maintenance. BaseCore and PaveCore systems have higher upfront costs and may require special compaction equipment during installation, but they have minimal ongoing expenses. The total cost of ownership is significantly lower with reinforced systems when all these factors are considered.
Make Your Driveway an Investment, Not an Expense
Building a gravel driveway is more than just laying down stone – it’s an investment in your property. Whether you choose traditional gravel, BaseCore Geocell, or PaveCore systems, proper planning and materials make all the difference in long-term performance and cost.
Why Consider Reinforcement?
Traditional gravel driveways often seem cheaper at first, but years of maintenance can double or triple your costs. Modern systems like BaseCore and PaveCore are changing this equation. By reducing gravel needs by up to 60% and virtually eliminating maintenance, these systems typically pay for themselves within 2-3 years.
Ready to Get Started? We’re here to help you make the best choice for your specific needs.
Our team can:
- Calculate material quantities for your project
- Compare costs between different systems
- Provide installation guidance
- Help you choose between 3″ and 4″ HD options
- Explain PaveCore benefits for your specific use case
Take the next step toward a durable, low-maintenance driveway. Contact us today for a free project evaluation and quote:
- Visit our website: www.basecore.co
- Call us: 888-511-1553
Let us help you build a driveway that will look great and perform well for years to come, without the constant maintenance headaches of traditional gravel systems.